Looking for a bulk order or B2B(VAT-free)?
Contact
us to get a quote.
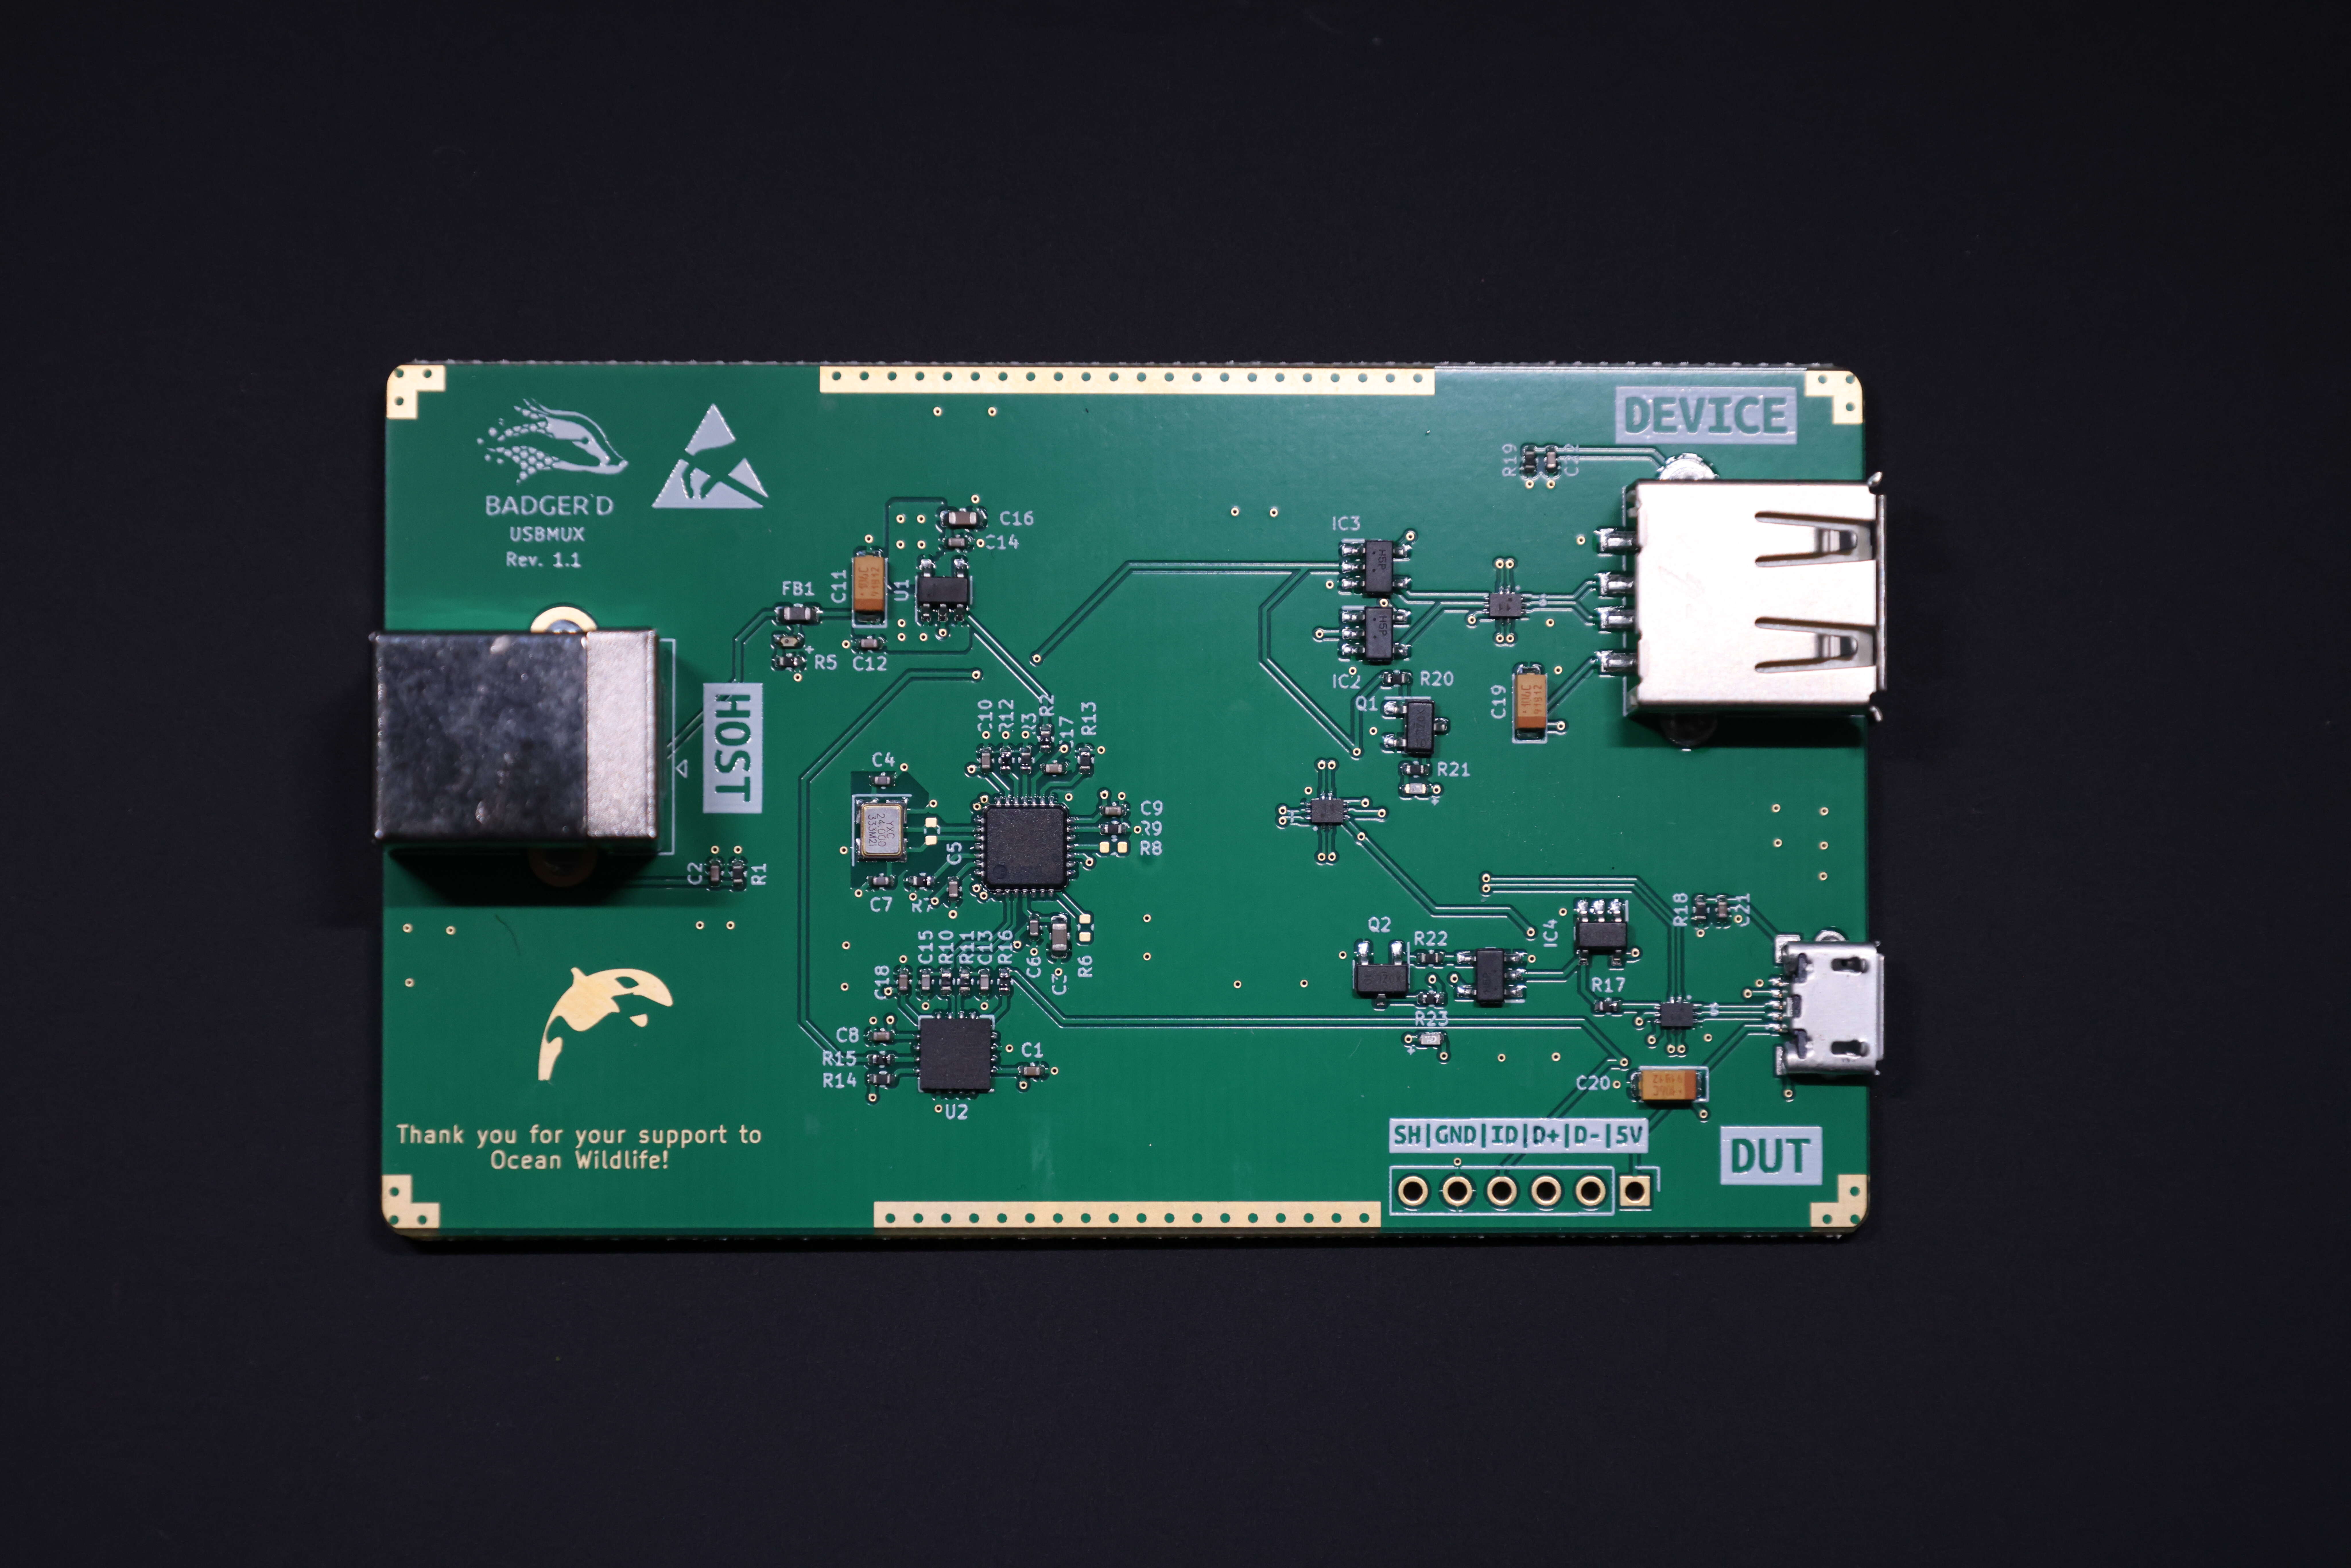
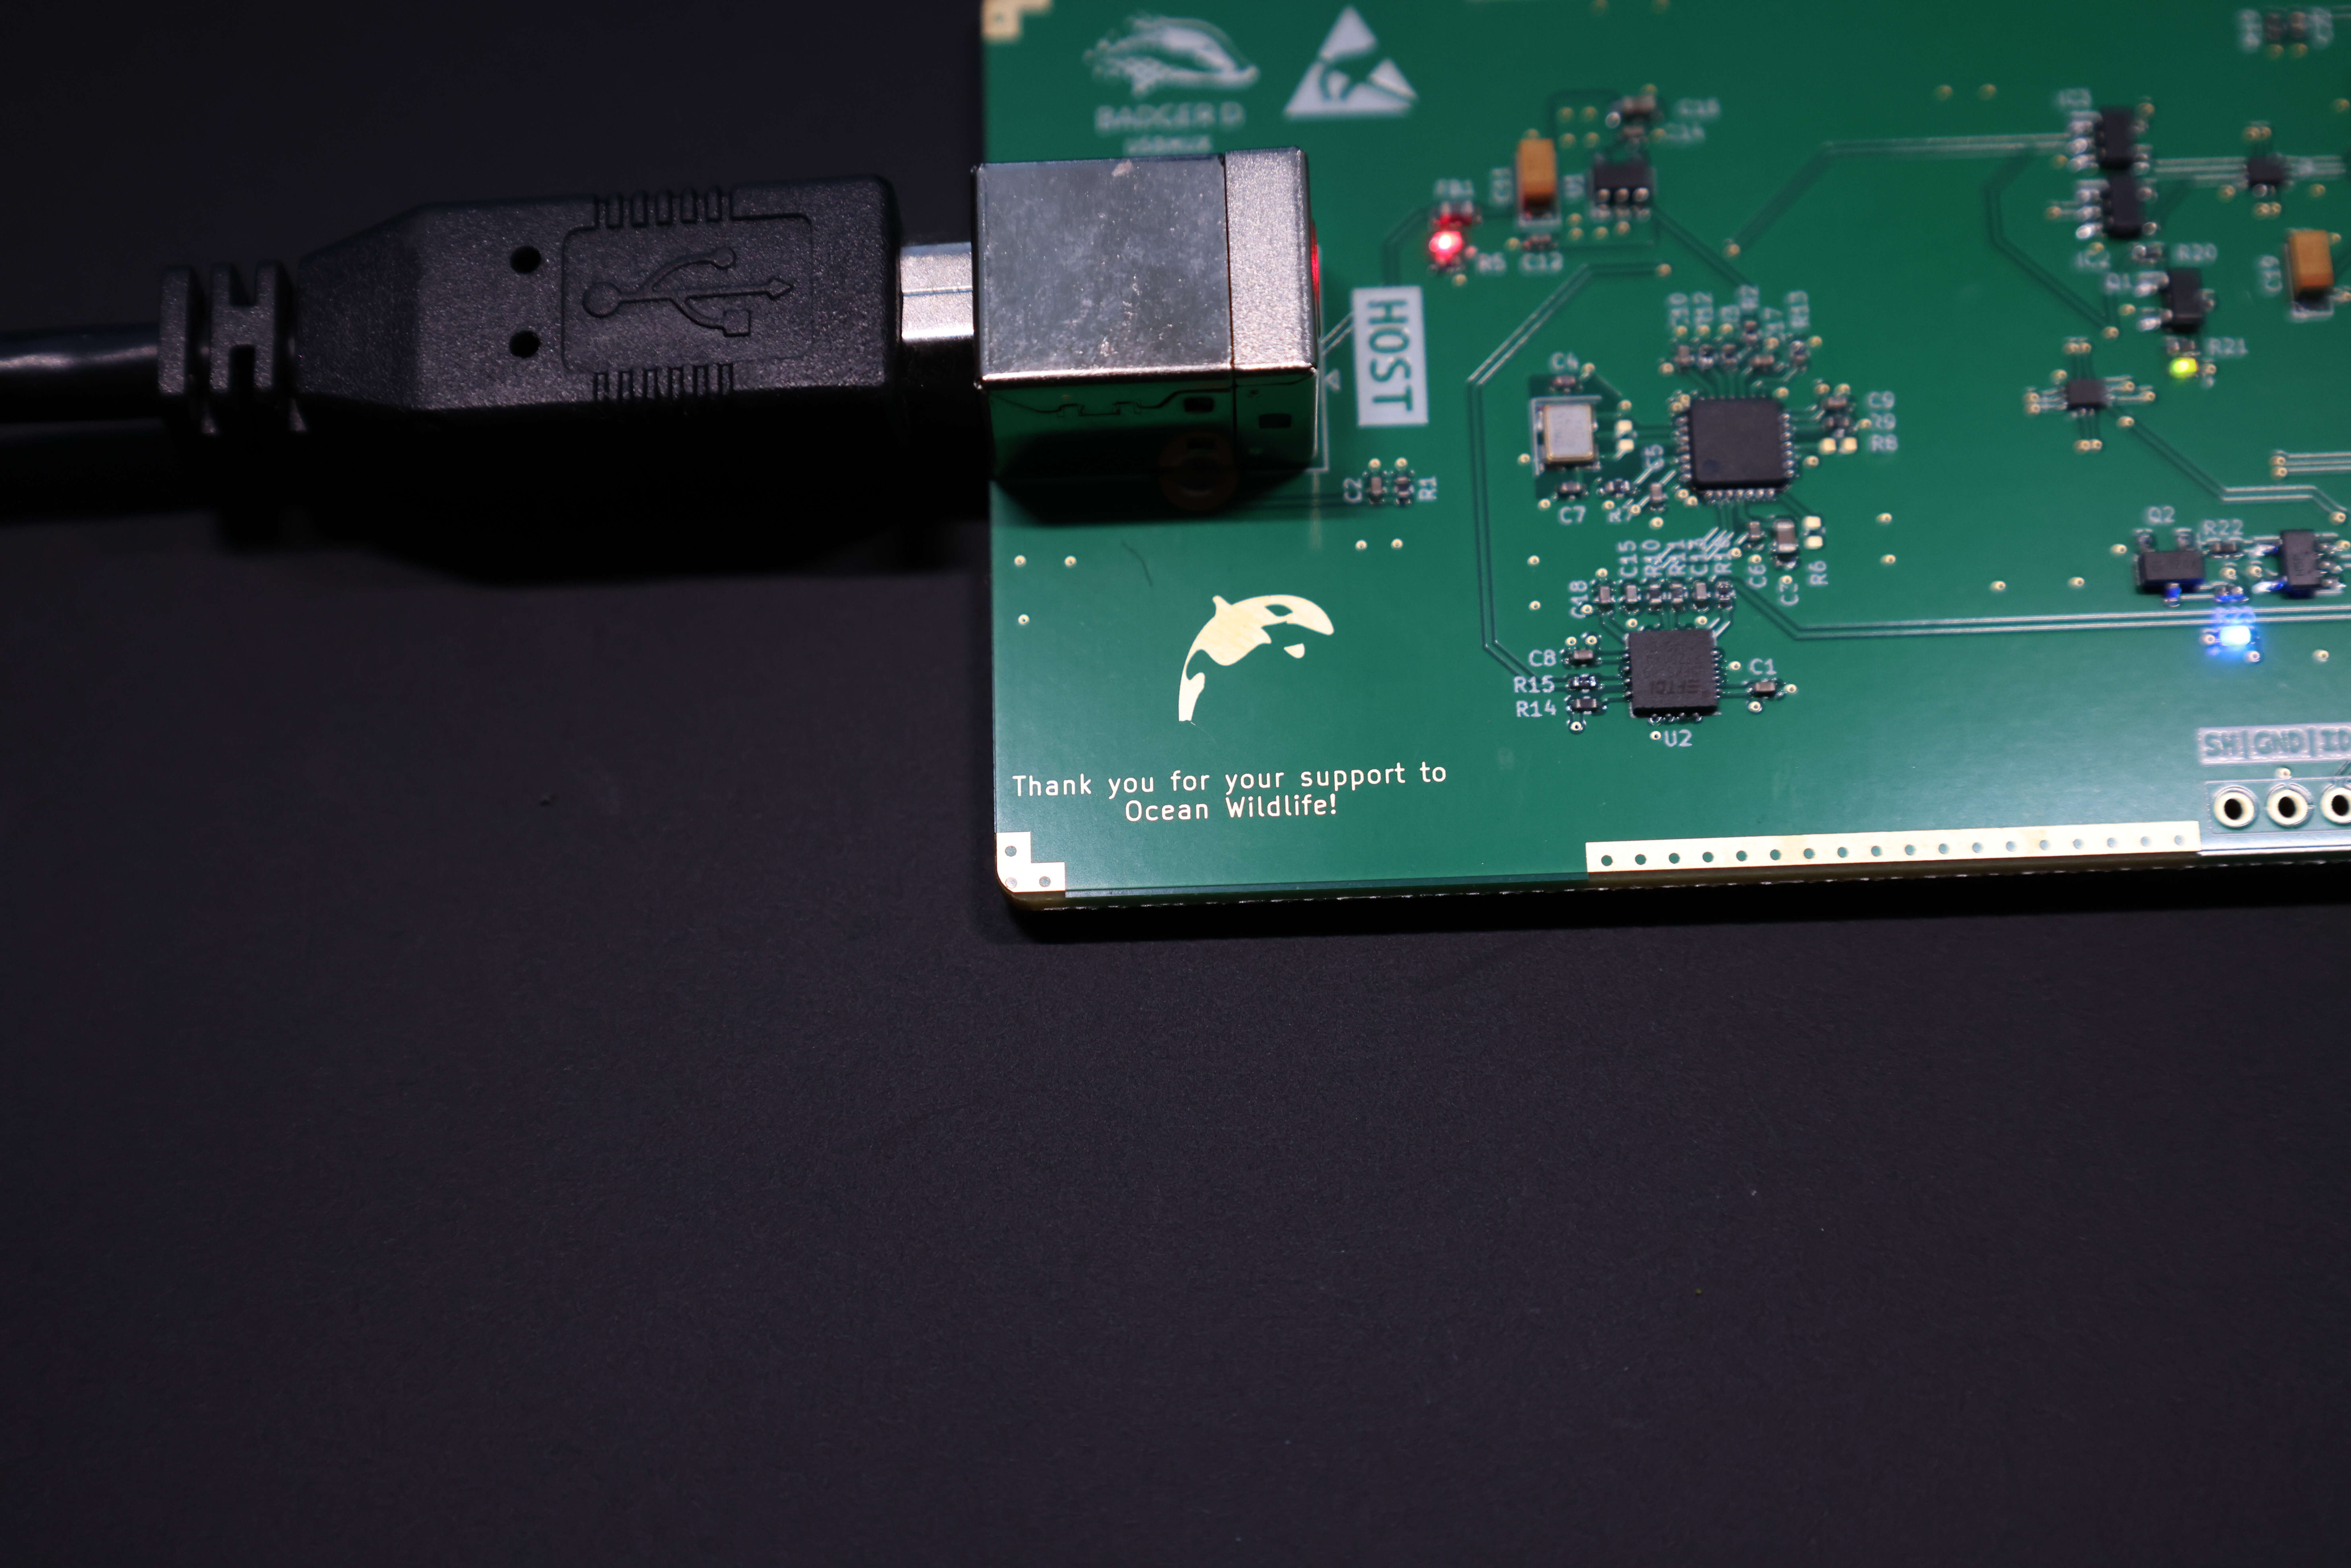
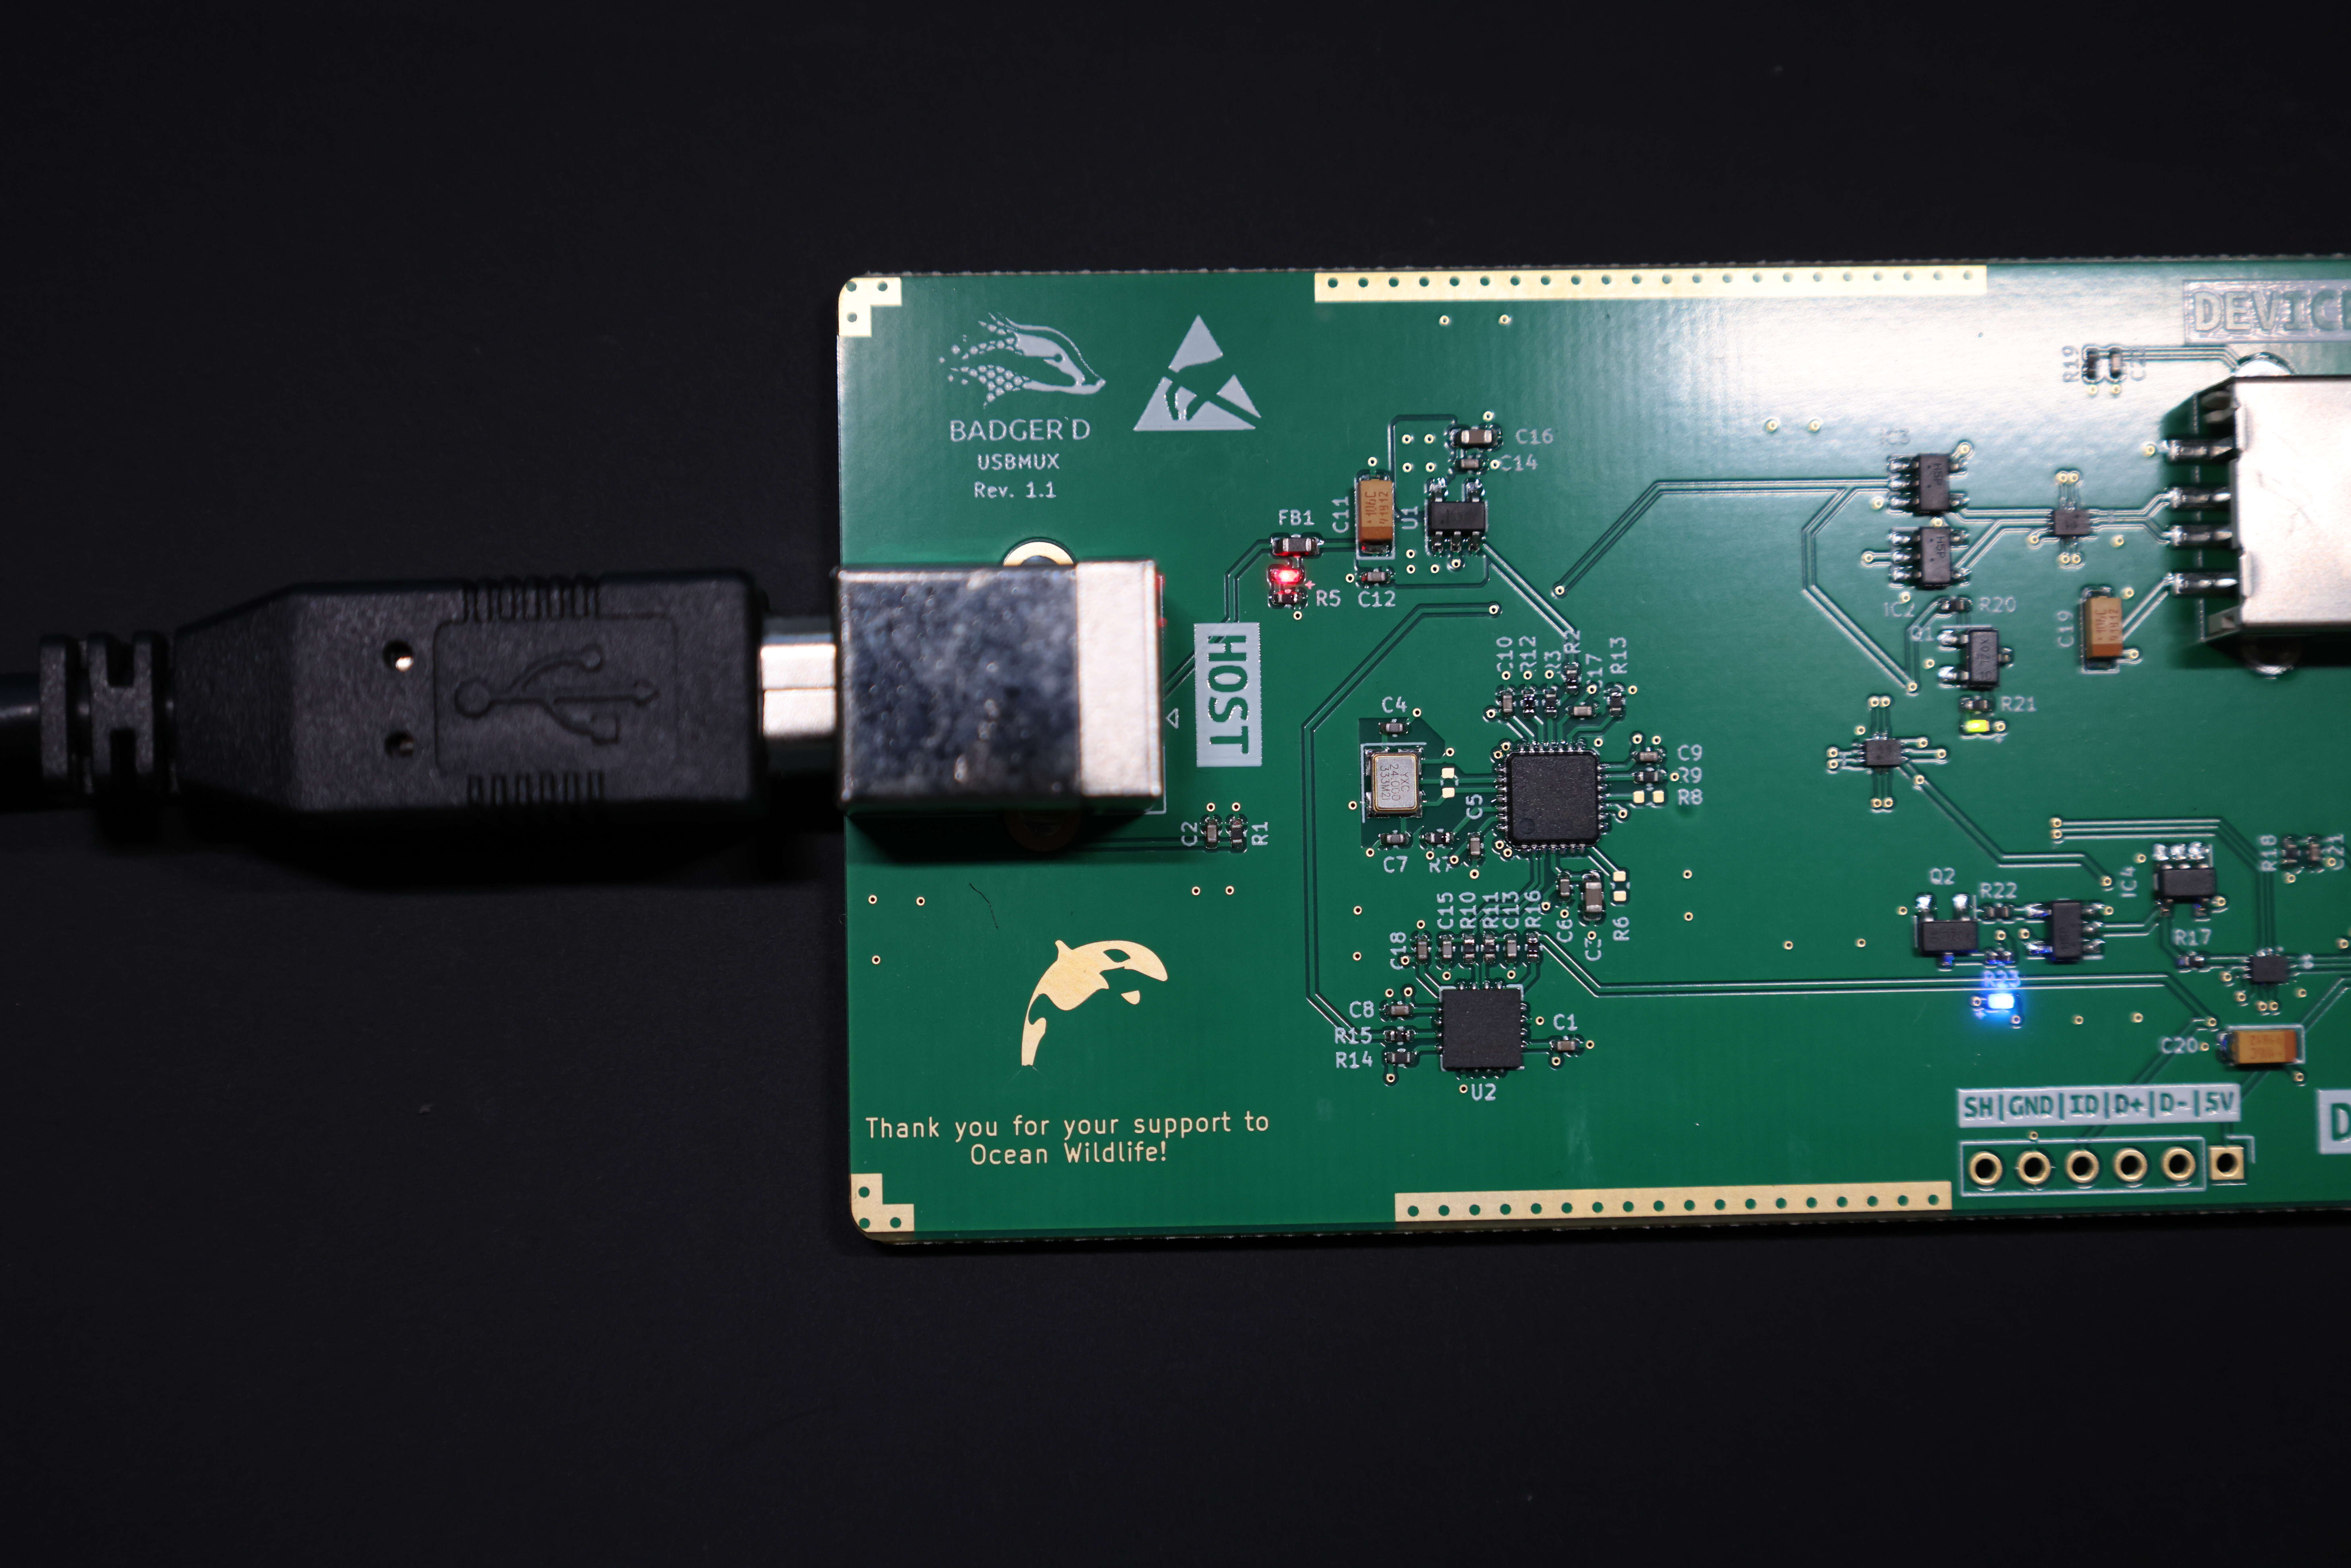
USBMux is a device that helps you to control connection of three different usb ports. USB-mux has three
USB 2.0 ports, Host, DUT and Device.
The Host port is used to control the USBMux with our cli software tool.
The Device port is used to connect USB devices like USB flash storage devices, mouses etc.
The DUT port is used to connect the device under test. It allows device itself to act as USB host or USB
device. You can also control USB ID pin using our usb-mux-ctrl cli tool.
The USBMux uses the analog switches and power transistors to create connections between all these three
ports. It allows you to connect
Host to Device, Device to DUT and
Host to DUT using cli tool.
You can connect your host to the device port to write data to a connected flash storage before
connecting DUT to Device port. Or you can connect your DUT to the host port to test DUT device in its
device functionality.
Go to Quick Start guide to start
testing it immediately!
How to use Badgerd's USBMux?
Let's install the command line application that will help us control the Badgerd USBMux device. We have already created a PPA to make the installation of the application easy for you. So let's execute the following commands to install the application. If you want to build the application from the source please follow the instructions here.
sudo add-apt-repository ppa:tchavadar/badgerd
sudo apt update
sudo apt install badgerd-muxer
Once the installation is completed successfully. Now you can see the demonstrations steps to see what you can do with the Badgerd USBMux. Jump the demonstration steps here.
Building the badgerd-muxer from source.
sudo apt install build-essential libftdi1-dev libpopt-dev cmake pkg-config Now it is time to install the software to control the USBMux.
git clone https://github.com/Badger-Embedded/muxer.git badgerd-muxer && cd badgerd-muxer Build and install the badgerd-muxer application by executing standard cmake build commands.
mkdir build && cd build
cmake ..
make
sudo make install
Commands above will install `badgerd-muxer` into /usr/local/bin
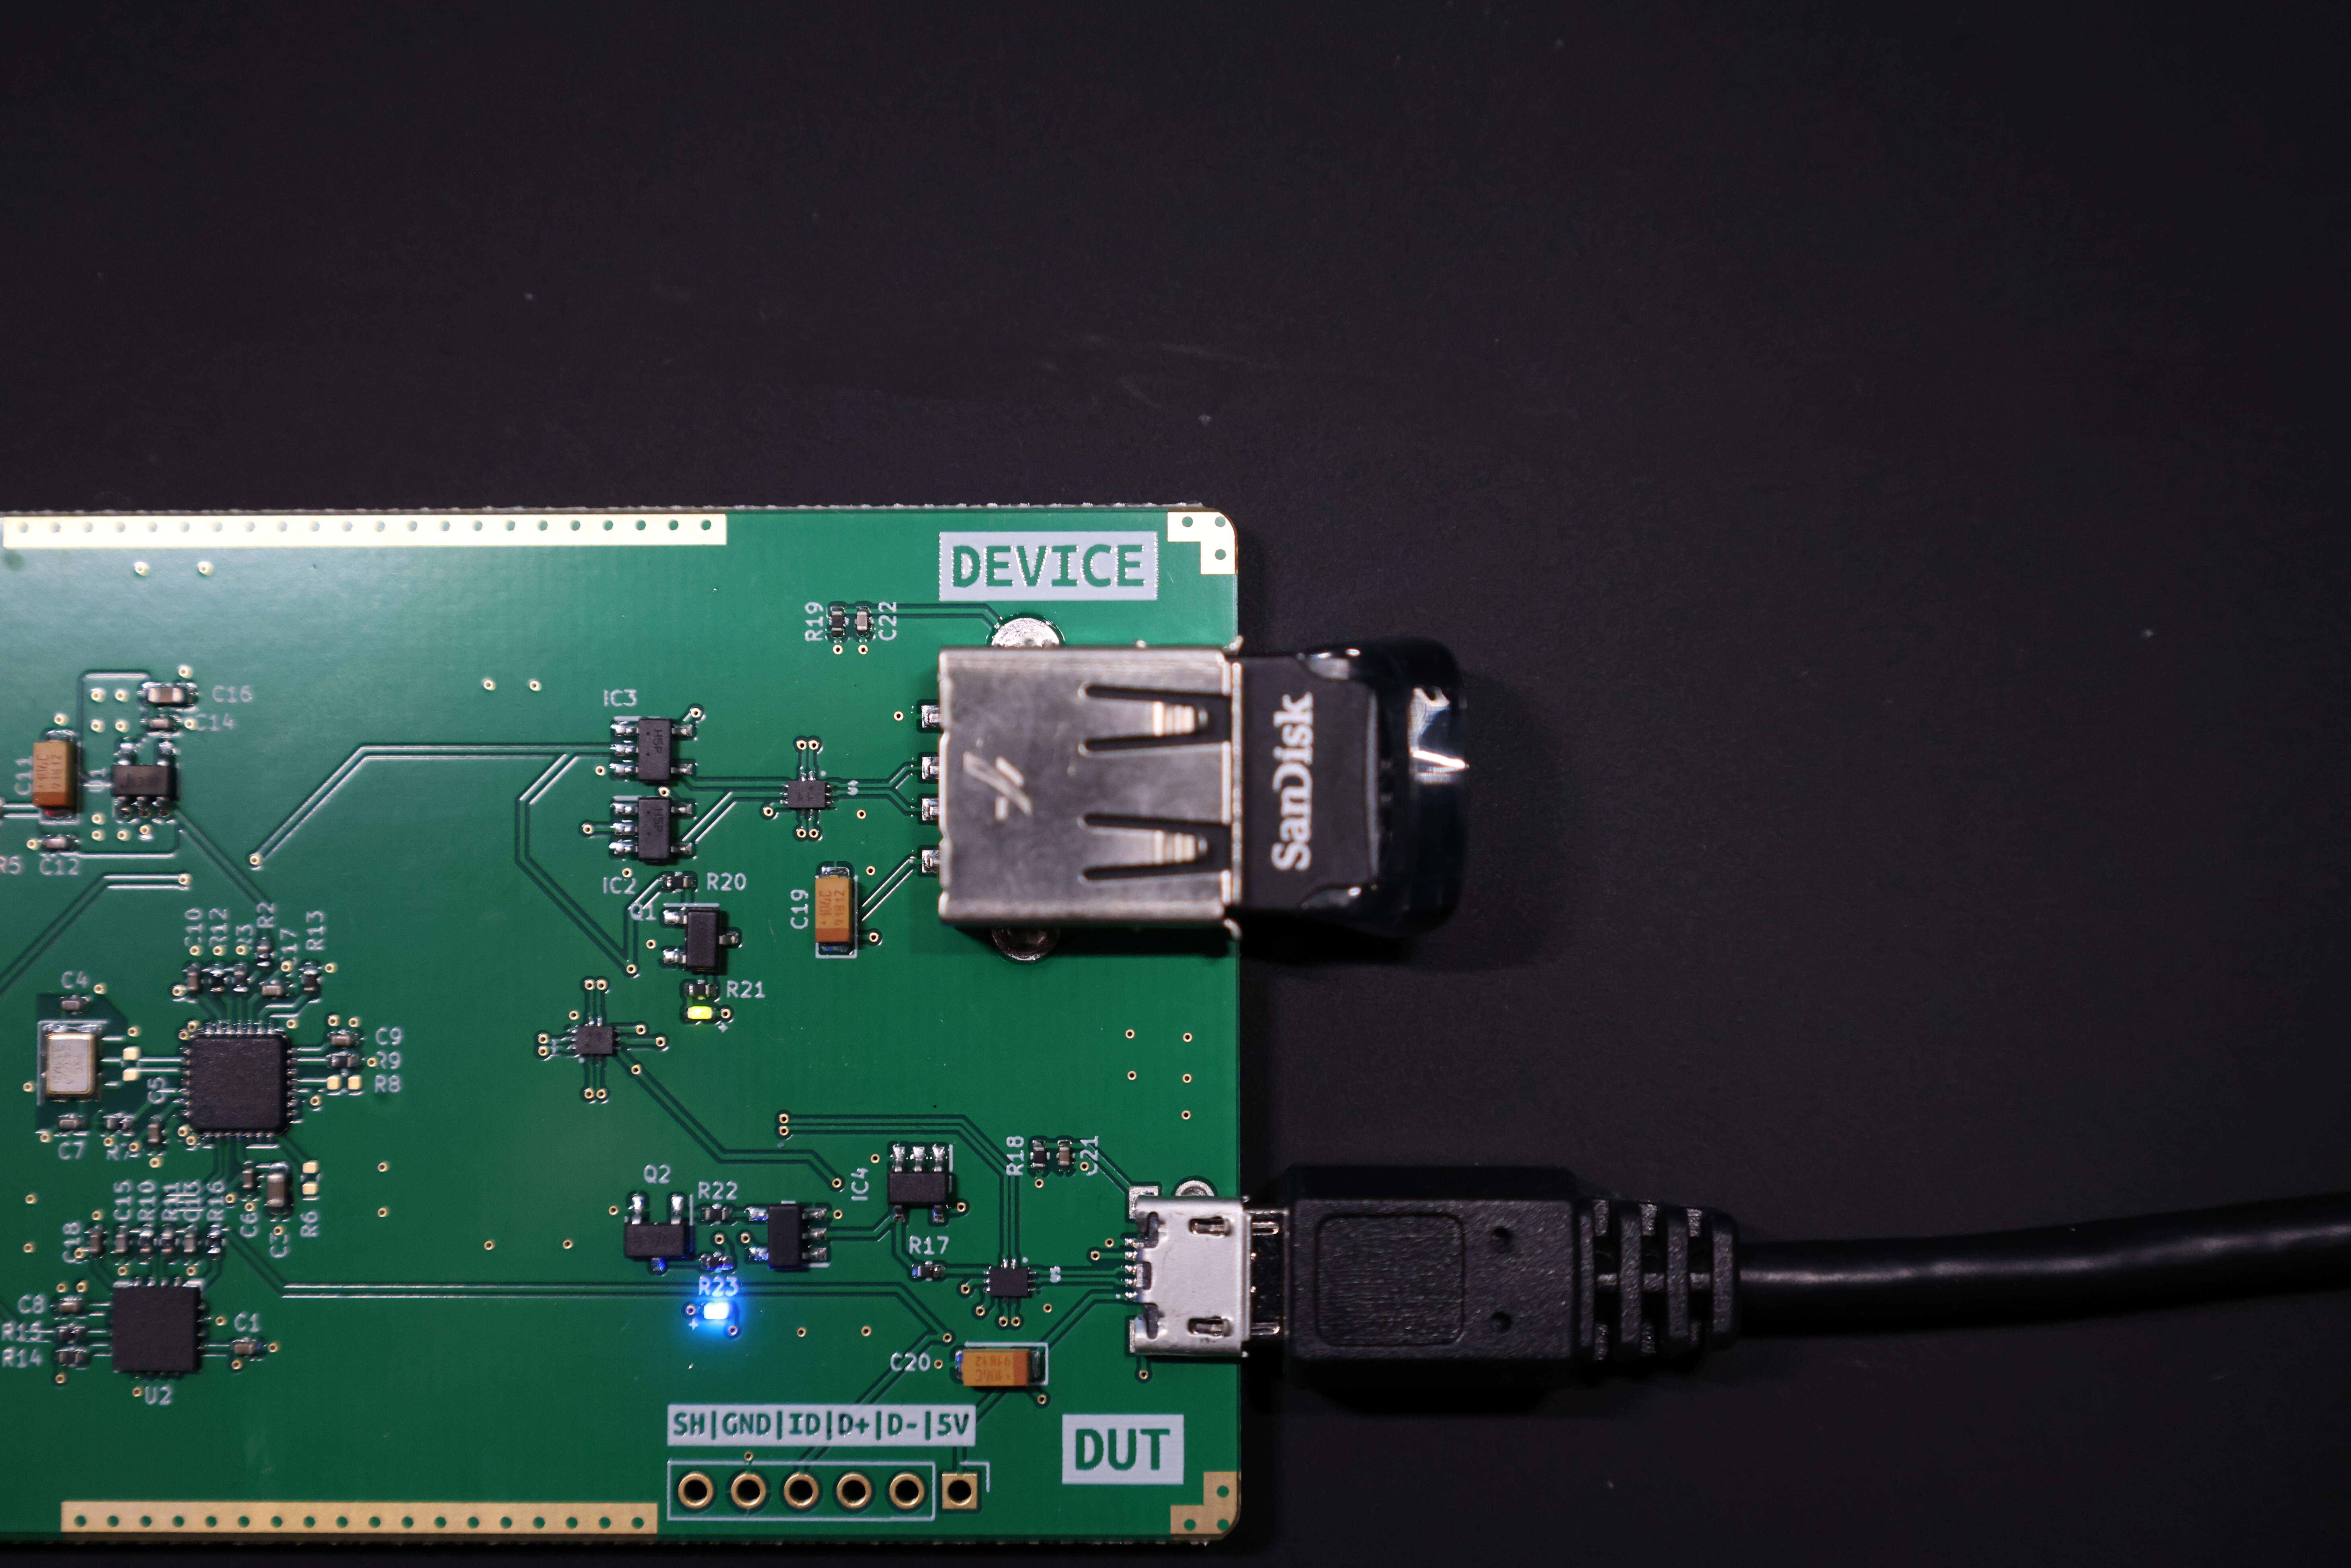
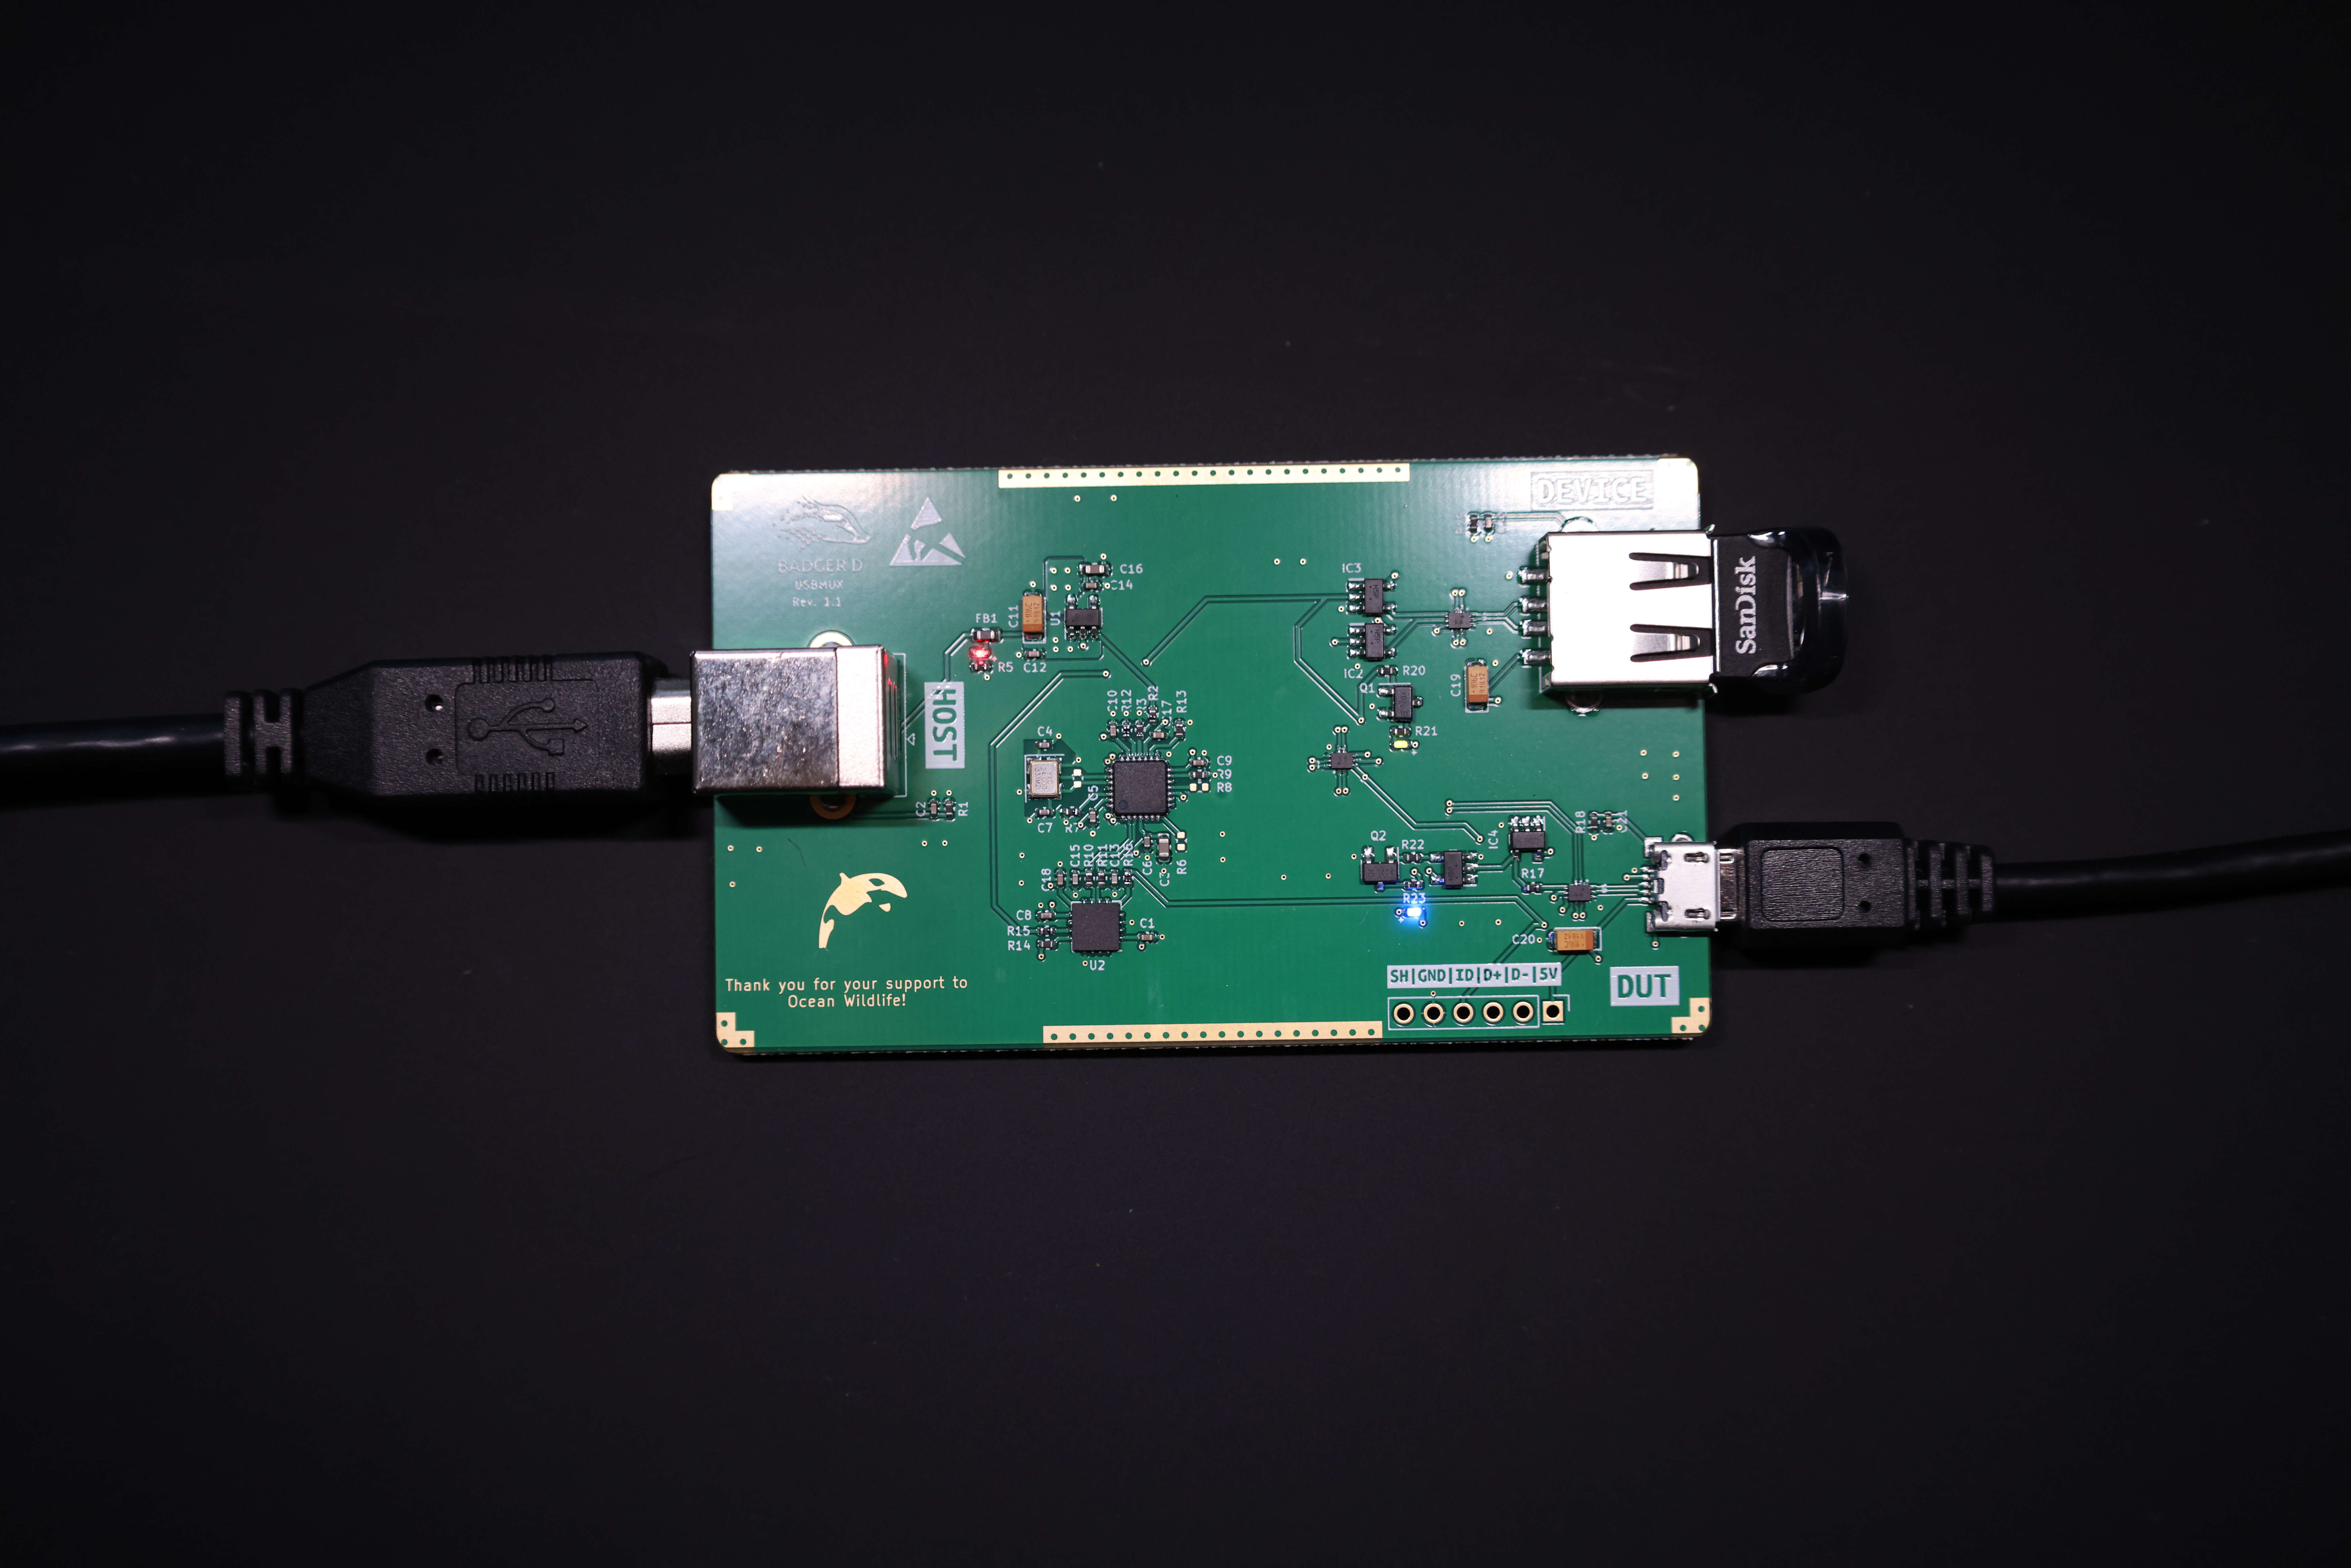
Since we have the tools we need, now we can continue on actually using the USBMux. For the purpose of demonstration, we will use the USBMux with two different USB storage connected to DUT and DEVICE ports. We also need a USB Type B cable to connect USBMux to our computer. (In this case I am using my Ubuntu host)
- First connect 2 USB Storage devices to DUT and DEVICE ports
- Connect USB Type B cable to USBMux
-
Let's check if our USBMux is already configured or not (we are sending them pre-configured but it is best to
check)
In your computer's terminal run the following command:
sudo dmesg -w- Connect your computer to USBMux using USB cable connected to HOST port of the USBMux
- Then you should be able to see 'idVendor', 'idProduct', 'SerialNumber'(alphanumeric) of the USBMux. We are going to use these values to configure if our USBMux is not configured yet. Let's check that!
In another terminal window, run the following command:
sudo badgerd-muxer --listIf you see following output in terminal, this means that your USBMux is not configured.
Number of FTDI devices found: 0Let's configure it otherwise you can continue on step 4
Run the following command to configure USBMux:
badgerd-muxer --device-serial={SerialNumber} --vendor=0x{idVendor} --product=0x{idProduct} --set-serial=bdgrd_usbmux_101Remember that all these values are coming from 'dmesg' output.
After the configuration of the USBMux, you might need to re-connect the USBMux by plugging out and in the USB cable. Now we should be able to see our USBMux is recognized by 'badgerd-muxer'
badgerd-muxer --list
Number of FTDI devices found: 1
Dev: 0, Manufacturer: Badgerd Technologies, Serial: bdgrd_usbmux_101, Description: USBMUX
To connect the USB Storage Device on `DEVICE` port to your computer
badgerd-muxer --device-serial=bdgrd_usbmux_101 --device- Do whatever you want to do with this USB Device, you can change the content of it, you are free to do anything that USB2.0 is capable of.
To connect USB Storage Device on `DUT` port to your computer
badgerd-muxer --device-serial=bdgrd_usbmux_101 --dutThis scenario will help you to switch between usb devices easily. But USBMux is not just about this. With the help of USBMux, you can also create connection between `DEVICE` and `DUT` ports.
Let's say you have a USB Device that you want to test connected to `DUT` port of USBMux, you can connect the USB Device on `DEVICE` port of USBMux to `DUT` port by simply running the following command
badgerd-muxer --device-serial=bdgrd_usbmux_101 --dut-deviceThis way you can simply change the content in USB Storage Device on `DEVICE` port of USBMux by connecting it to host as explained in step 4. And then connect it back to DUT.
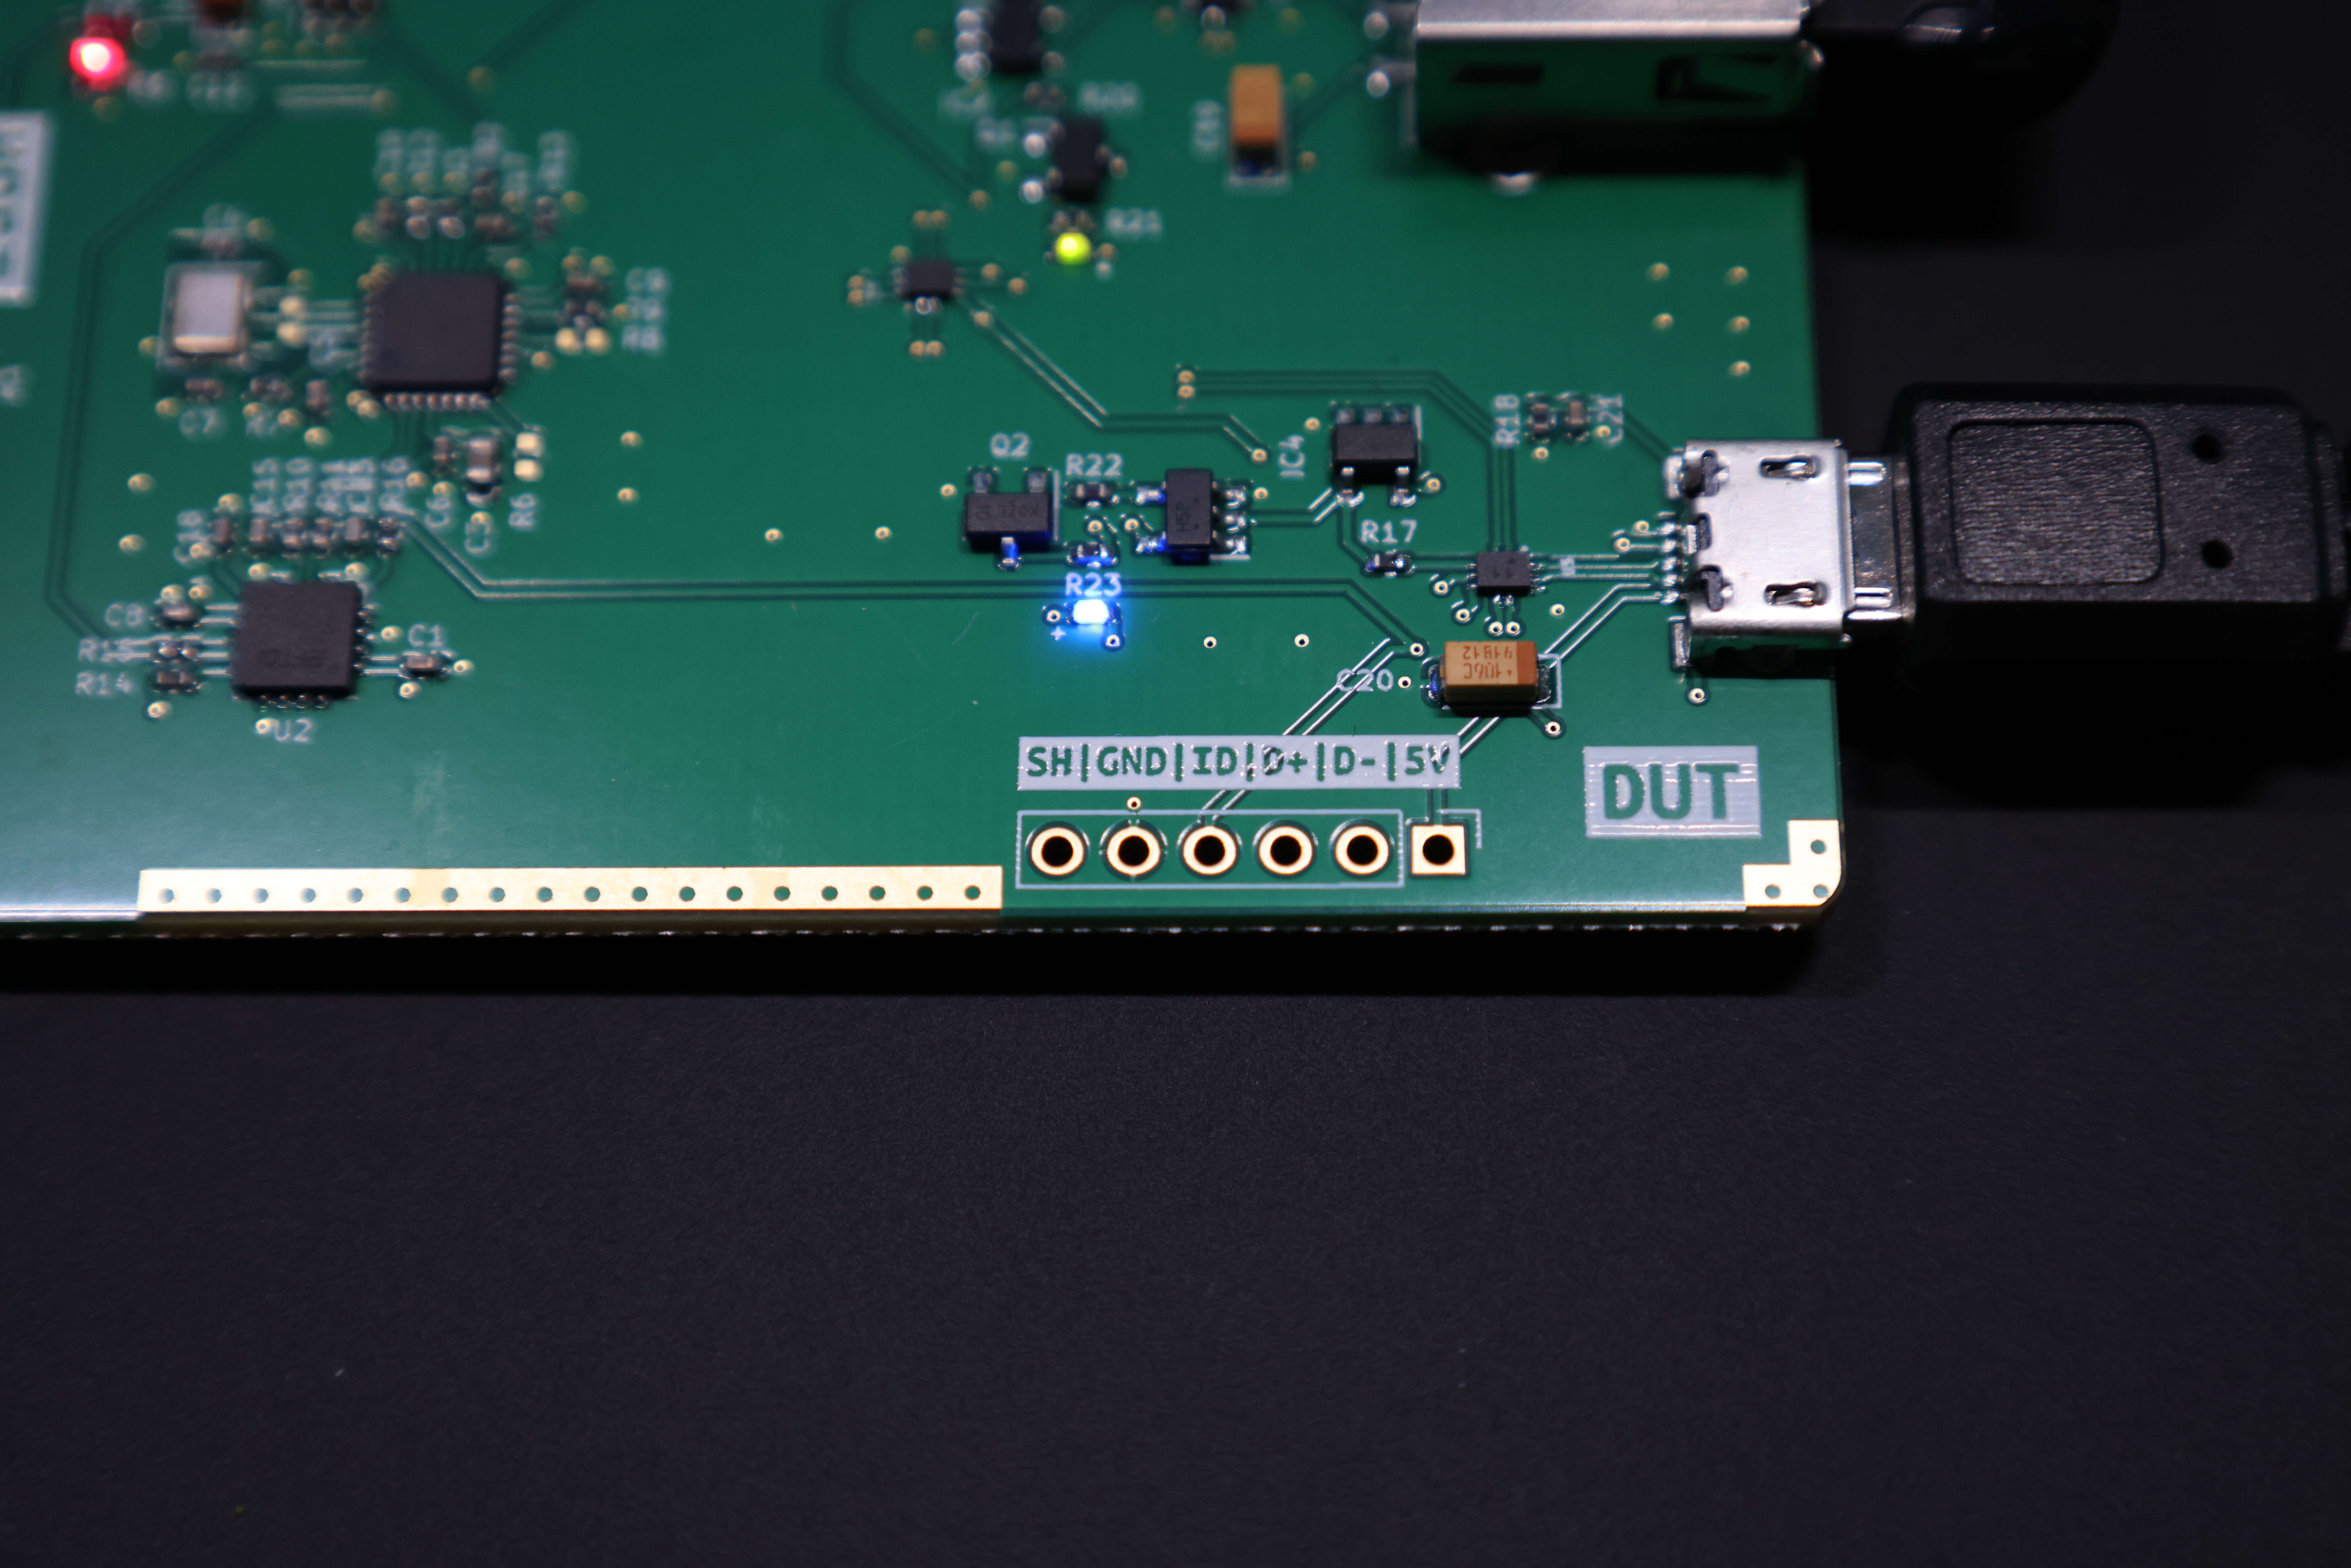
This is not all, there is a reason why we picked micro usb port for DUT port of USBMux. With the help of USBMux, you can manipulate the id value of the micro usb port on `DUT` so that you can test the behaviour of the `DUT` on different conditions
To manupulate the id pin of micro usb port (DUT), you can run the following command
badgerd-muxer --device-serial=bdgrd_usbmux_101 --set-id-pin=1 # 1 to set it high, 0 to set it lowTo check the status of USBMux you can run the following command.
$ badgerd-muxer --device-serial=bdgrd_usbmux_101 --status
DUT USB-ID State: 0 and DUT is connected to DEVICE [0:1]
Hope this quick start guide helps you to give our USBMux a kickstart. See you in another challenge!
* Shipments outside the EU may require customers to pay additional costs for Tax&Duties depending on the laws of destination country.
KvK# 87317427
Copyright © 2023 Badgerd Technologies B.V. All rights reserved.
